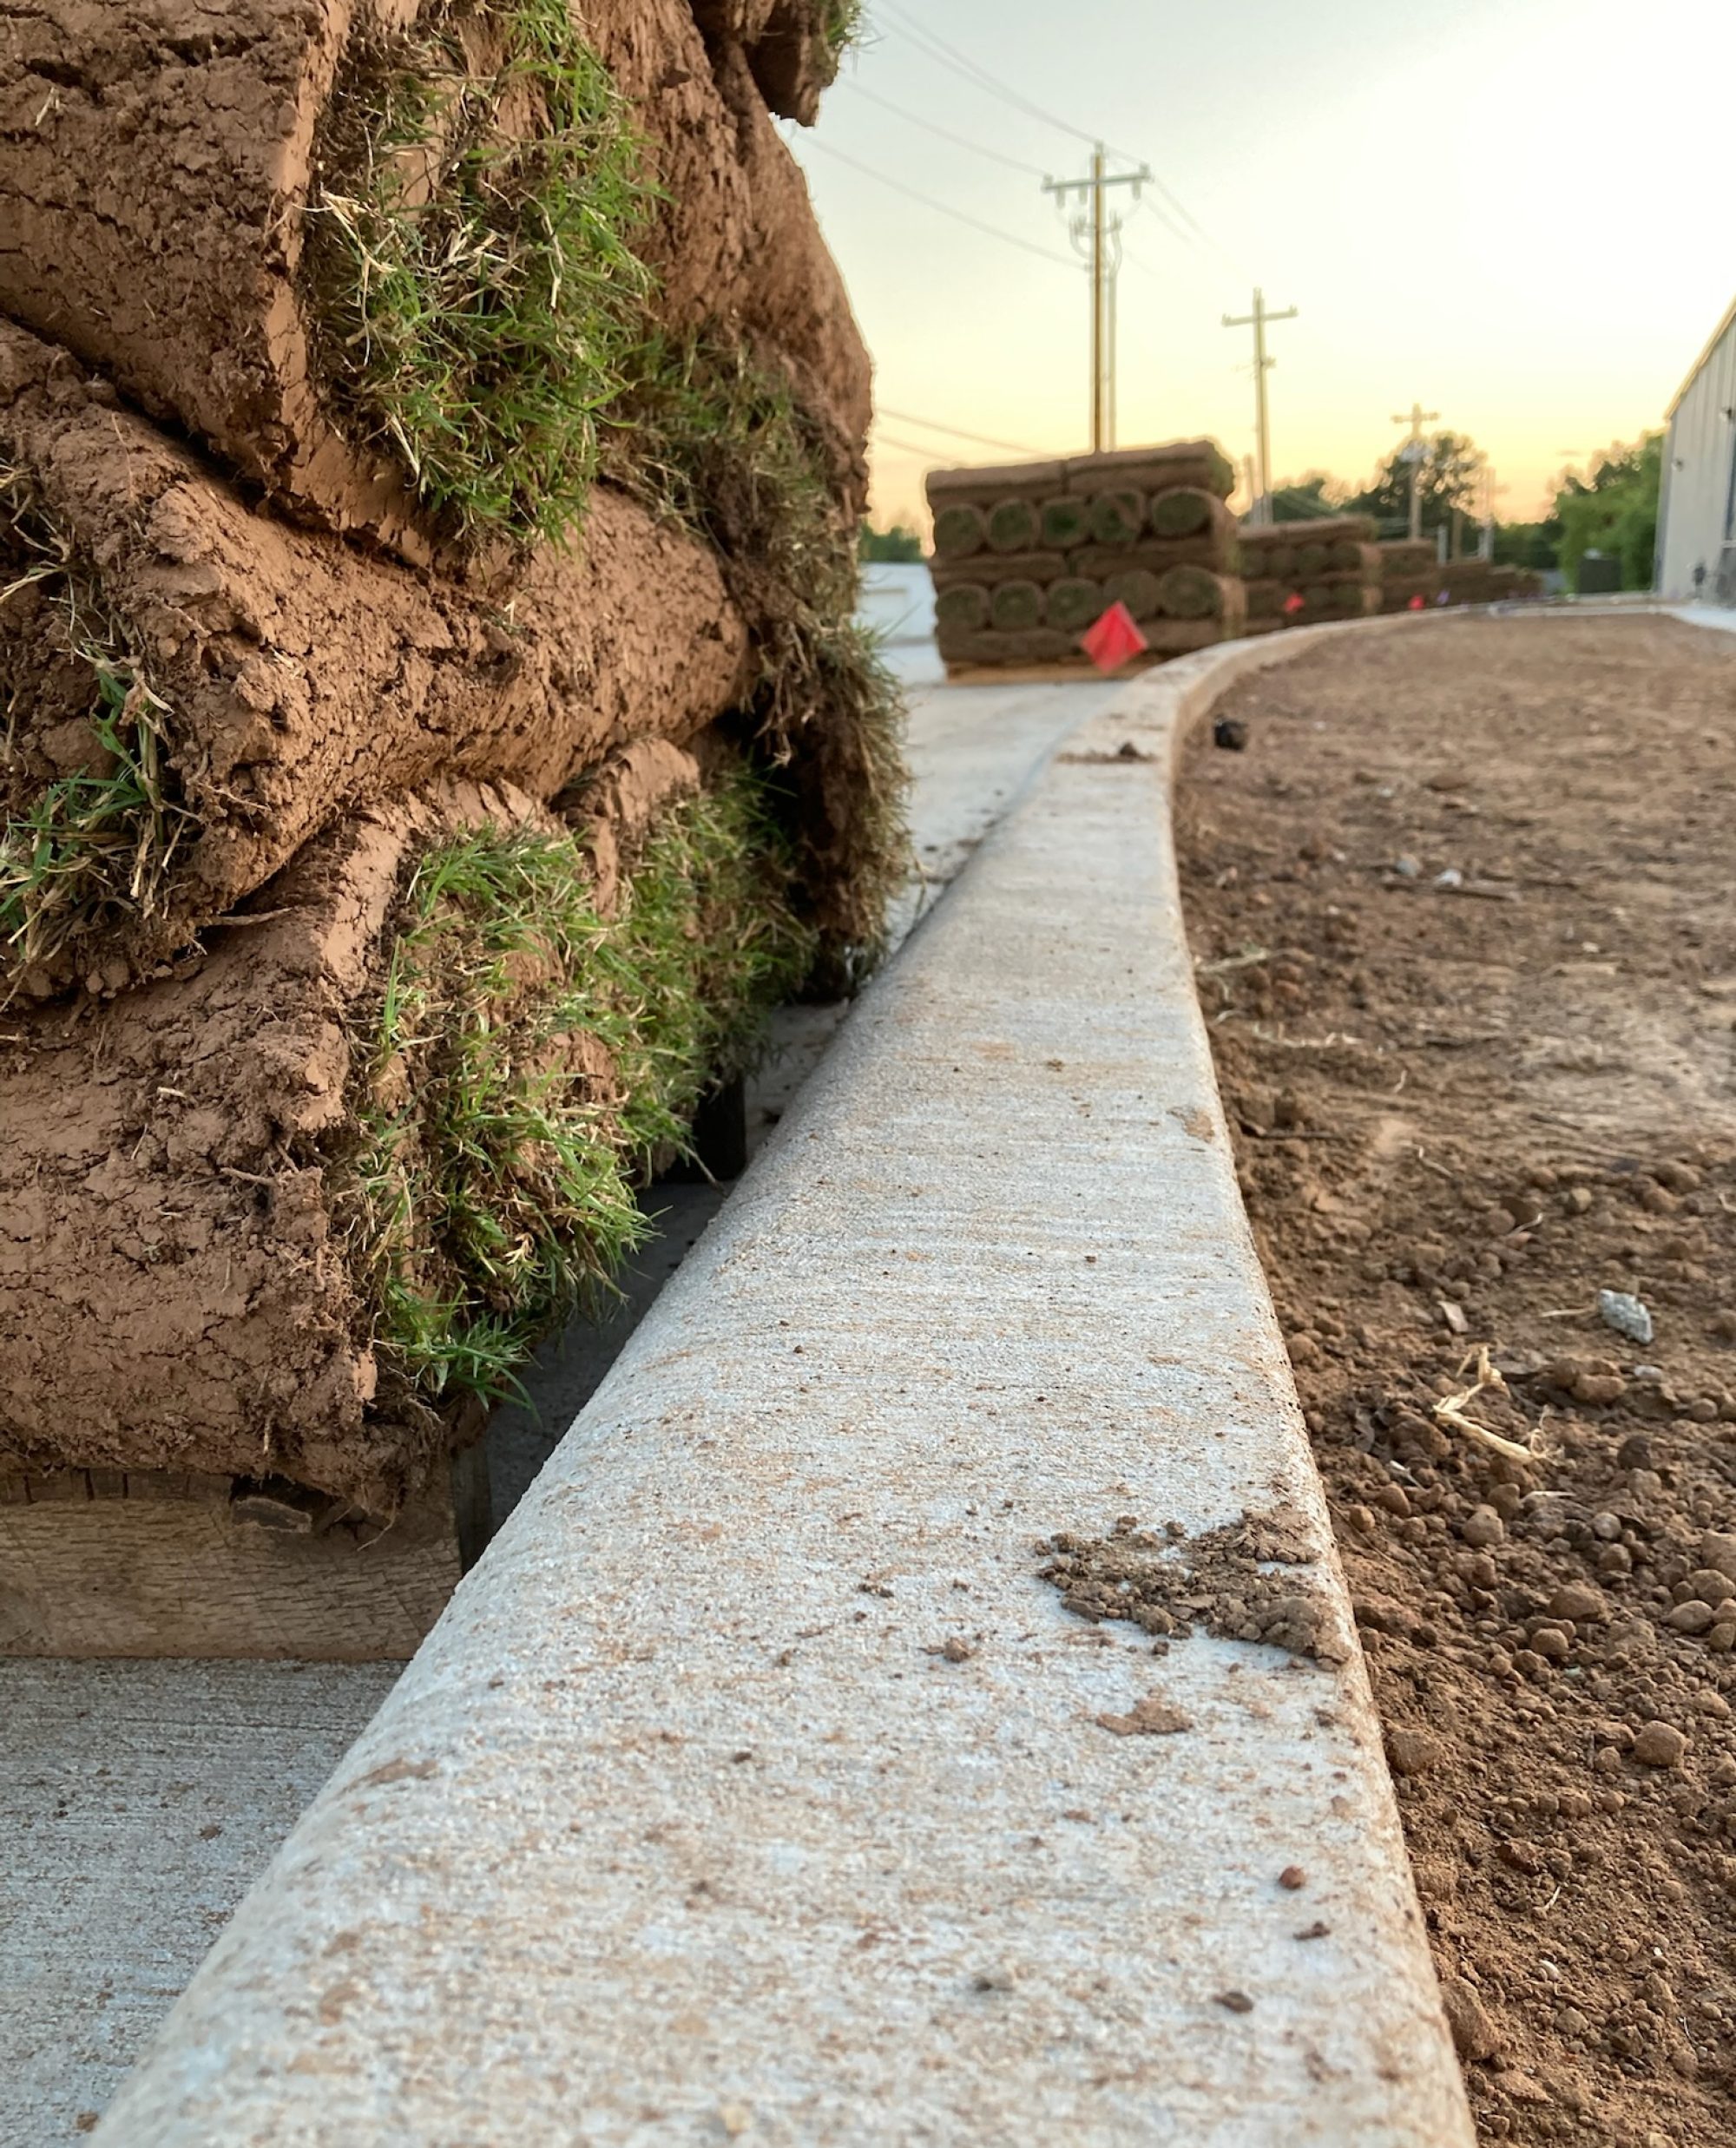
How to Prepare Your Lawn for Bermuda Sod Installation
Proper preparation is the key to success when installing Bermuda sod in Tulsa. Skipping steps or rushing the process often leads to uneven lawns, poor root growth, and wasted investment. Here’s a step-by-step guide to preparing your yard for a smooth Bermuda sod installation:
1. Clear the Area
- Remove old grass, weeds, rocks, and debris from the site.
- Use a sod cutter or herbicide (applied 2–3 weeks before installation) to eliminate existing turf.
- This ensures your Bermuda sod won’t have to compete for nutrients.
2. Test and Improve the Soil
- Get a soil test to check pH and nutrient levels. Bermuda thrives in slightly acidic to neutral soil (6.0–7.0).
- Add lime if soil is too acidic or sulfur if it’s too alkaline.
- Mix in organic compost or topsoil to improve drainage and fertility.
3. Grade and Level the Yard
- Ensure the soil slopes away from your home to prevent water pooling.
- Fill in low spots and smooth uneven areas with a rake.
- A properly graded yard allows water to drain evenly across your sod.
4. Aerate and Loosen the Soil
- Till or aerate compacted ground to a depth of 4–6 inches.
- Loose soil allows Bermuda sod roots to penetrate quickly and deeply.
5. Add Starter Fertilizer
- Apply a phosphorus-rich starter fertilizer before laying sod.
- This boosts root establishment in the critical first weeks.
6. Water the Soil Before Installation
- Lightly moisten the soil the day of installation (but don’t flood it).
- This creates a cool, moist base for the sod to sit on.
? Pro Tip for Tulsa Homeowners: Proper prep work takes time, but it ensures your Bermuda sod thrives for years. Think of it as setting the foundation for your home — everything rests on it.


? Learn more: Tulsa Bermuda Sod Guide